It’s almost time for your irrigation system’s spring tune-up. Even if you irrigated during the winter, you’ll want to verify all of the system’s components are in top condition for the warmer months ahead.
Knowing what to look for when inspecting your system is critical for spotting and preventing any repairs.
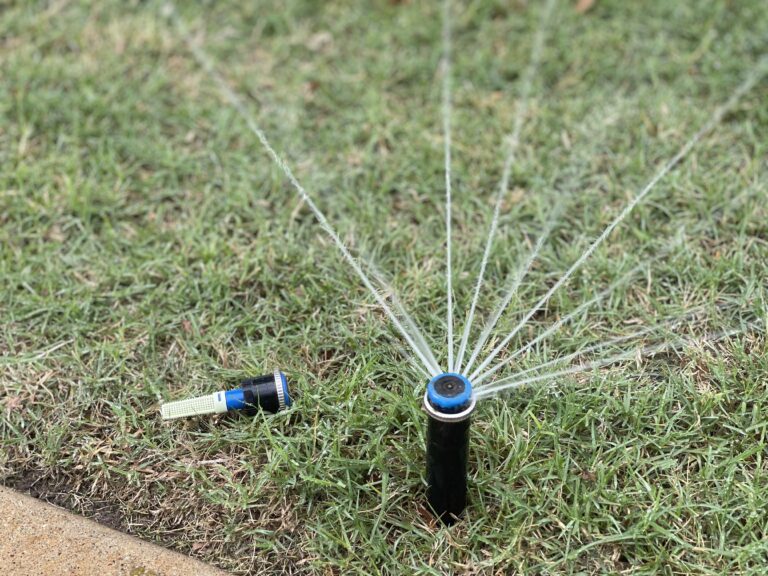
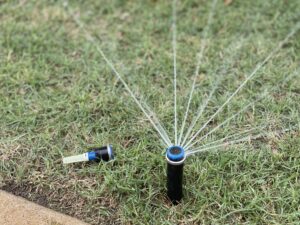
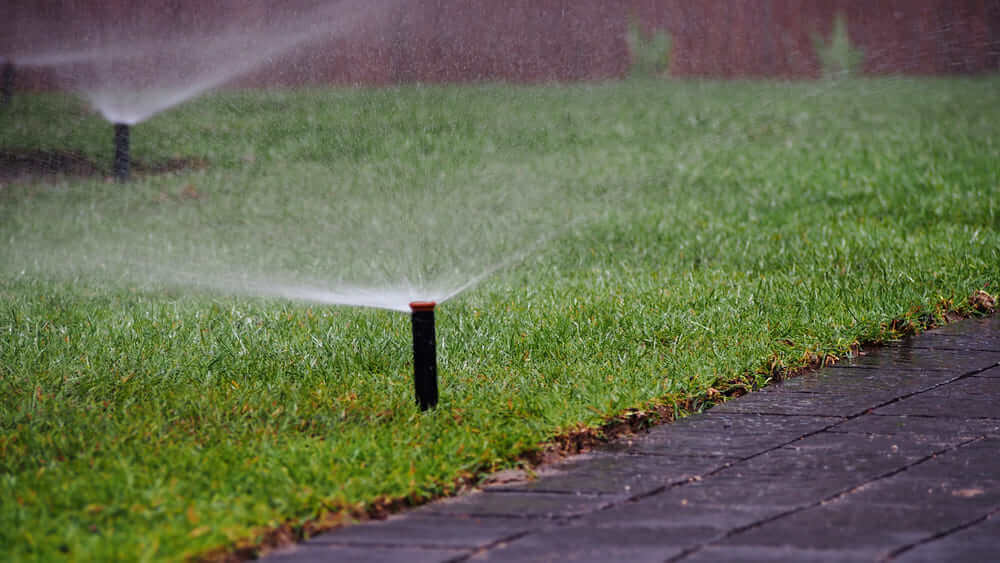
Sprinkler Heads
- Check all sprinkler heads to make sure they’re not covered in dirt, rocks, grass, or any other debris.
- Make sure the heads aren’t cracked or broken, and if you have to replace any, use the same brand and model for that zone.
- Check and readjust any tilted sprinkler heads, plus make sure those on sloped areas are installed at the correct angle.
- Remove the sprinkler at the end of each zone for systems that haven’t been run all winter. This creates a flush point so any insects and dirt can be expelled when the system is turned on for the first time.
- Cut back any shrubs or bushes that have grown to the point they’ll block a sprinkler’s water spray or stream.
Controllers
Some controllers are backed up by batteries in case of power failures. Change the batteries every spring and fall. Newer controllers have back-up batteries that are only needed to keep the time and date if the power goes out. Their non-volatile memory stores the programming. These back-up batteries should last a few years, but make sure they still have charge each spring. For controllers that have only non-volatile memory, the lithium battery should last the lifetime of the controller.
Next, program the controller for a spring irrigation schedule. Make sure the right date and time are displayed. Remember to program for your specific watering days and times. If you have the seasonal adjust feature, switch it to a spring watering percentage. Use automatic seasonal adjustment for weather-based controllers.
Sensors
- Make sure the rain or rain/freeze sensor is positioned correctly. Any debris or dead insects should be cleaned out of the housing, and if the discs are moldy or warped, replace them.
- With soil moisture sensors, ensure they’re still properly located and the wires in the wiring box are still connected.
- Wireless rain or rain/freeze sensors and soil moisture sensors use batteries, so check the battery strength, and replace as needed.
Backflow Prevention Assembly (BPA)
Check your above-ground BPA for any leaks, warping, broken ball valves, or cracks that may have occurred during the cold weather. Turn off the water supply to the BPA at the shutoff valve if you find a leak.
Also close the BPA test cocks, and open the ball valves all the way. On RPZ (reduced pressure zone) BPAs, tighten the relief cover bolts.
Winter freezing can also cause internal damage that you can’t see, which will prevent the device from providing backflow protection. If you think this is the case, arrange for a BPA inspection and test right away instead of waiting for the annual one. Any repairs will also require a test.
With below-ground BPAs, look for the same kind of damage, and schedule any needed repairs or testing. If you find any water in the box, it could be rainwater, or you may have to hunt for a leak.
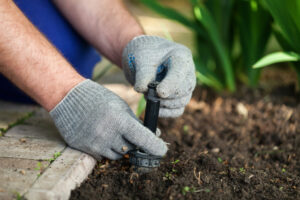
Valve Boxes
Open the valve boxes, and look for the following: standing water, loose or broken wires on the valve assemblies, and cracks in the valves. Empty any water (rainwater can fill the box), reattach loose wires, and replace broken wires and cracked valves.
If the boxes are damaged, or missing lids, install new ones. Remove any debris or grass hiding the valve boxes so they’re easy to find.
When you check the valve box containing the isolation valve, make sure the valve hasn’t seized. Open it slowly if your irrigation system has been shut off all winter. This will prevent water hammering that can cause damage to valves and burst pipes.
Flushing Out Pipes
Separately run each zone to sweep out any debris in the pipes if you didn’t irrigate during the winter. Make sure the water is exiting the flush points you set up at the end of each zone. After clearing each zone, replace the end sprinkler.
Checking the System Zone by Zone
Run each zone individually and check for the following:
- Sprinklers too high or low. Sprinklers that are too low can’t pop up high enough to water their designated areas. Sprinklers that are too high are tripping hazards, and are easily broken by lawn mowers or other equipment.
- Sprinklers not fully popping up or retracting. Check for dirt or debris in the sprinkler head or filters, and for retraction problems clean out debris between the riser and head. Replace the sprinkler if it can’t be fixed. Low water pressure can also prevent sprinklers from extending fully, and can be caused by partially-closed valves on the BPA, or pipe leaks.
- Sprinklers leaking. For leaks, clean out any debris in the sprinklers, and tighten loose caps. Replace worn-out seals or other damaged parts. If the riser is broken, buy a new sprinkler.
- Rotors aren’t rotating or throwing the right distance. Clean the filters, and replace the rotor if the issue isn’t solved.
- Uneven spray pattern. Either the filter or nozzle is clogged when there are gaps in the spray pattern. Clean them both thoroughly, but since nozzles are easily scratched and inexpensive it’s simpler to buy new ones.
- Sprinklers are misting, or water flow is reduced. Water pressure is too high or too low.
- Improper head spacing. Water from one sprinkler head should reach the closest heads around it in each direction (head-to-head coverage). Adjust the radius on sprinklers to reach 100 percent overlap. You may have to change nozzles or the sprinkler layout to get the proper head spacing.
- Valve box filling with water. If a valve box starts filling with water after you’ve run the zone, look for a ruptured valve, or broken pipe or fitting. You could also have debris in the valve, diaphragm or wire coil. You can clean the debris, but replace the diaphragm and solenoid if damaged. A ruptured valve also needs exchanging.
- Low head drainage. Check to see if sprinkler heads placed at lower levels continue to drain when the zone stops running. Swap these sprinklers with ones that have built-in check valves, or install check valves into the sprinklers.
- Zone doesn’t shut down. This could be a controller problem, or the zone valve is stuck open. The valve solenoid could also be damaged or shorted.
- Signs of leaking pipes. Check for sprinklers not popping up fully, weak water sprays or streams, pools of water around sprinklers, water bubbling up from the grass, and geysers. After you’ve resumed regular irrigation, sunken areas or ground that’s especially wet and soft should also alert you to broken pipes and leaks.
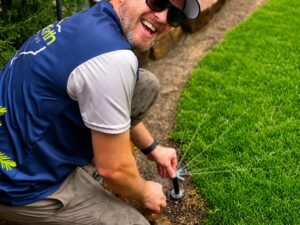
Hire a Professional
Although you can do some of these checklist actions yourself, hiring a licensed professional to perform a complete and thorough inspection and tune-up is recommended. He’s also trained to spot any potential problems, and can make recommendations to keep costs down, and your landscape healthy.
Call the licensed irrigators at Smart Earth Sprinklers at 512-694-1147 or contact us online for your sprinkler system inspection, repair, and maintenance needs.